A Dog Named Zion

IMG_5938

Zion, our adventure dog

It’s almost as if I knew I’d be missing my dog, Zion. I had uploaded photos of him so I would have them available on my iPhone for whenever I was near wifi. It’s only been a short time but I miss him dearly. I’m use to his morning “wake-up” of licking my hand from the side of the bed to his goodnight pet before he retires to his pillow each night.

IMG_5875

Posing with Mt. Fuji in the background on one of his hikes

He’s a good dog who has been with our family for approximately three years now. He was a stray dog at one of the facilities that I oversaw in Rota, Spain. I was at the facility taking pictures in hopes of getting all the dogs adopted out. In true Zion fashion, he lavished me in doggy kisses and I was SOLD! Next up was my husband who was a bit harder to convince but came around in the end (truth be told, Zion and him are now the best of buds!).

Those initial months together were some of the most grueling. We were establishing our pack order, taking obedience lessons, getting use to having to consider Zion in our plans, and more. Throw into the mix that we found out we would be moving half way around the world to Japan (with some pretty intense animal import regulations)! It’s all been worth it though because what we have received in return has been a dog that loves us with all his heart, a great exercise partner, an adventurous hiker, world traveler and one cool dog.

IMG_5659

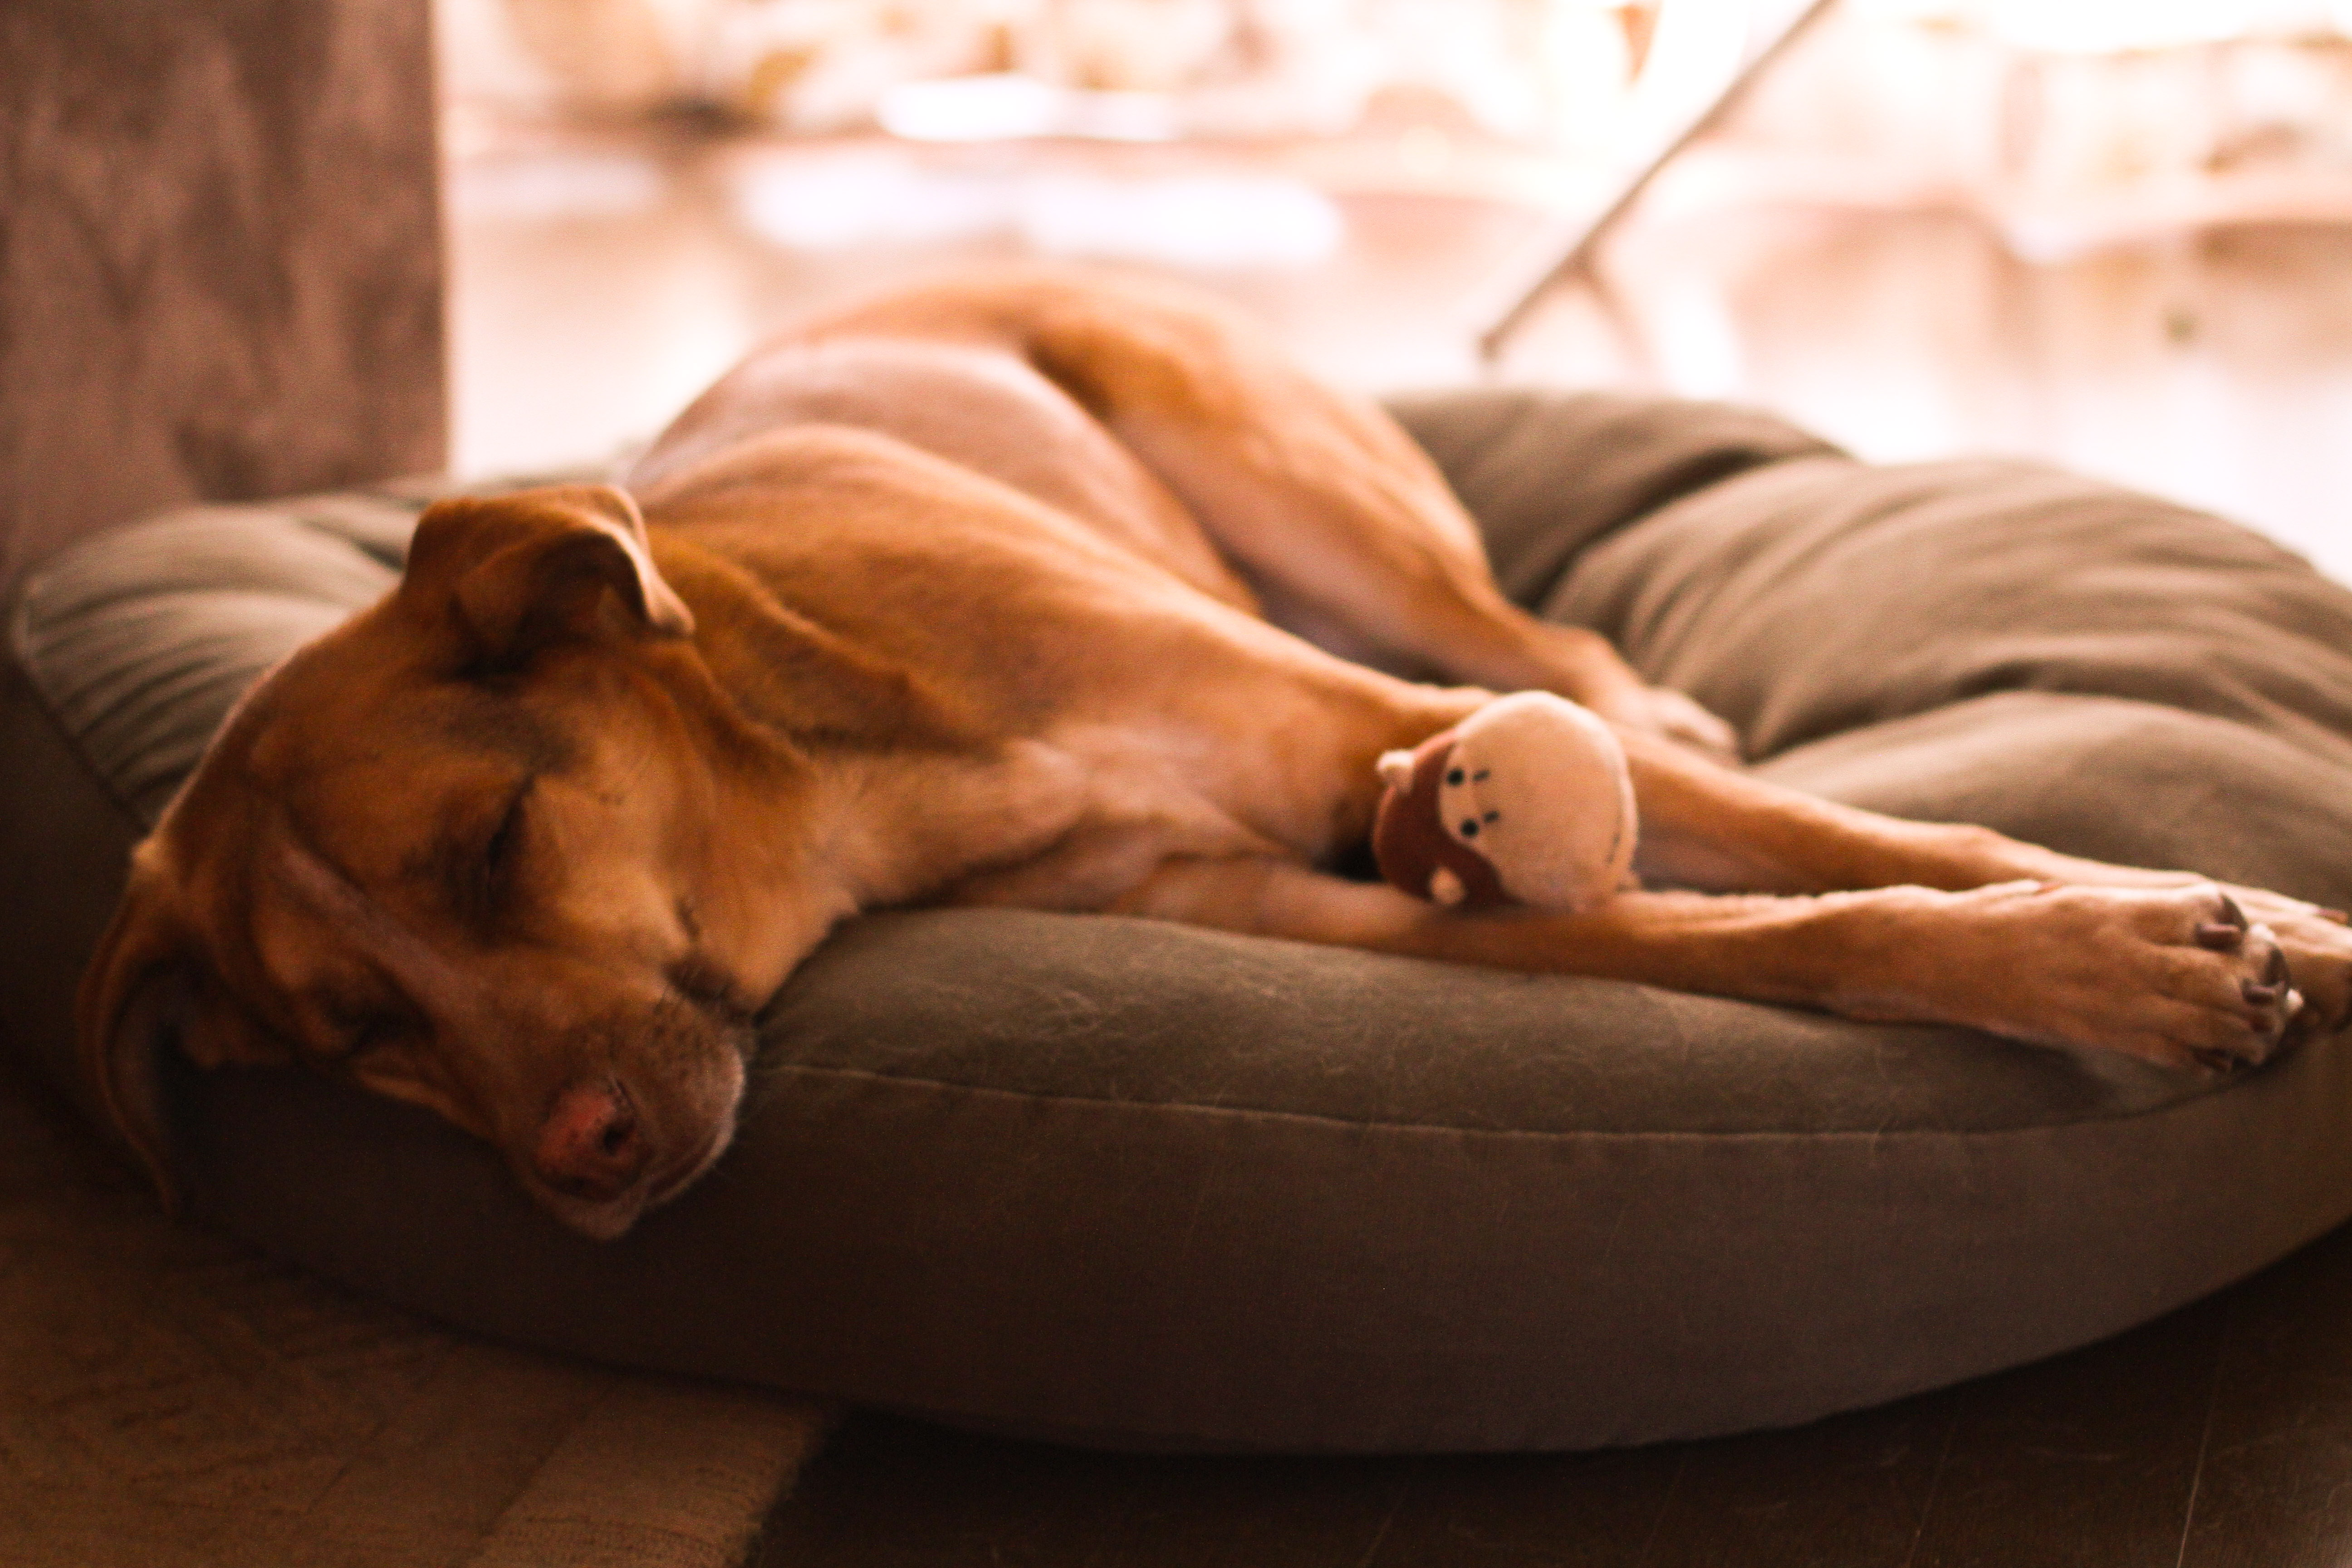
Sleeping with his toy

So it’s not surprising that Zion is also a bit of a foodie (look at his parents)! He is served up homemade dog food because we believe that he should also be eating healthy, balanced food. This is his favorite recipe. I love it because you can adapt it to whatever you have on hand (no broccoli but peas, why not!). Hope your dog agrees!

xxCourtney

IMG_6274

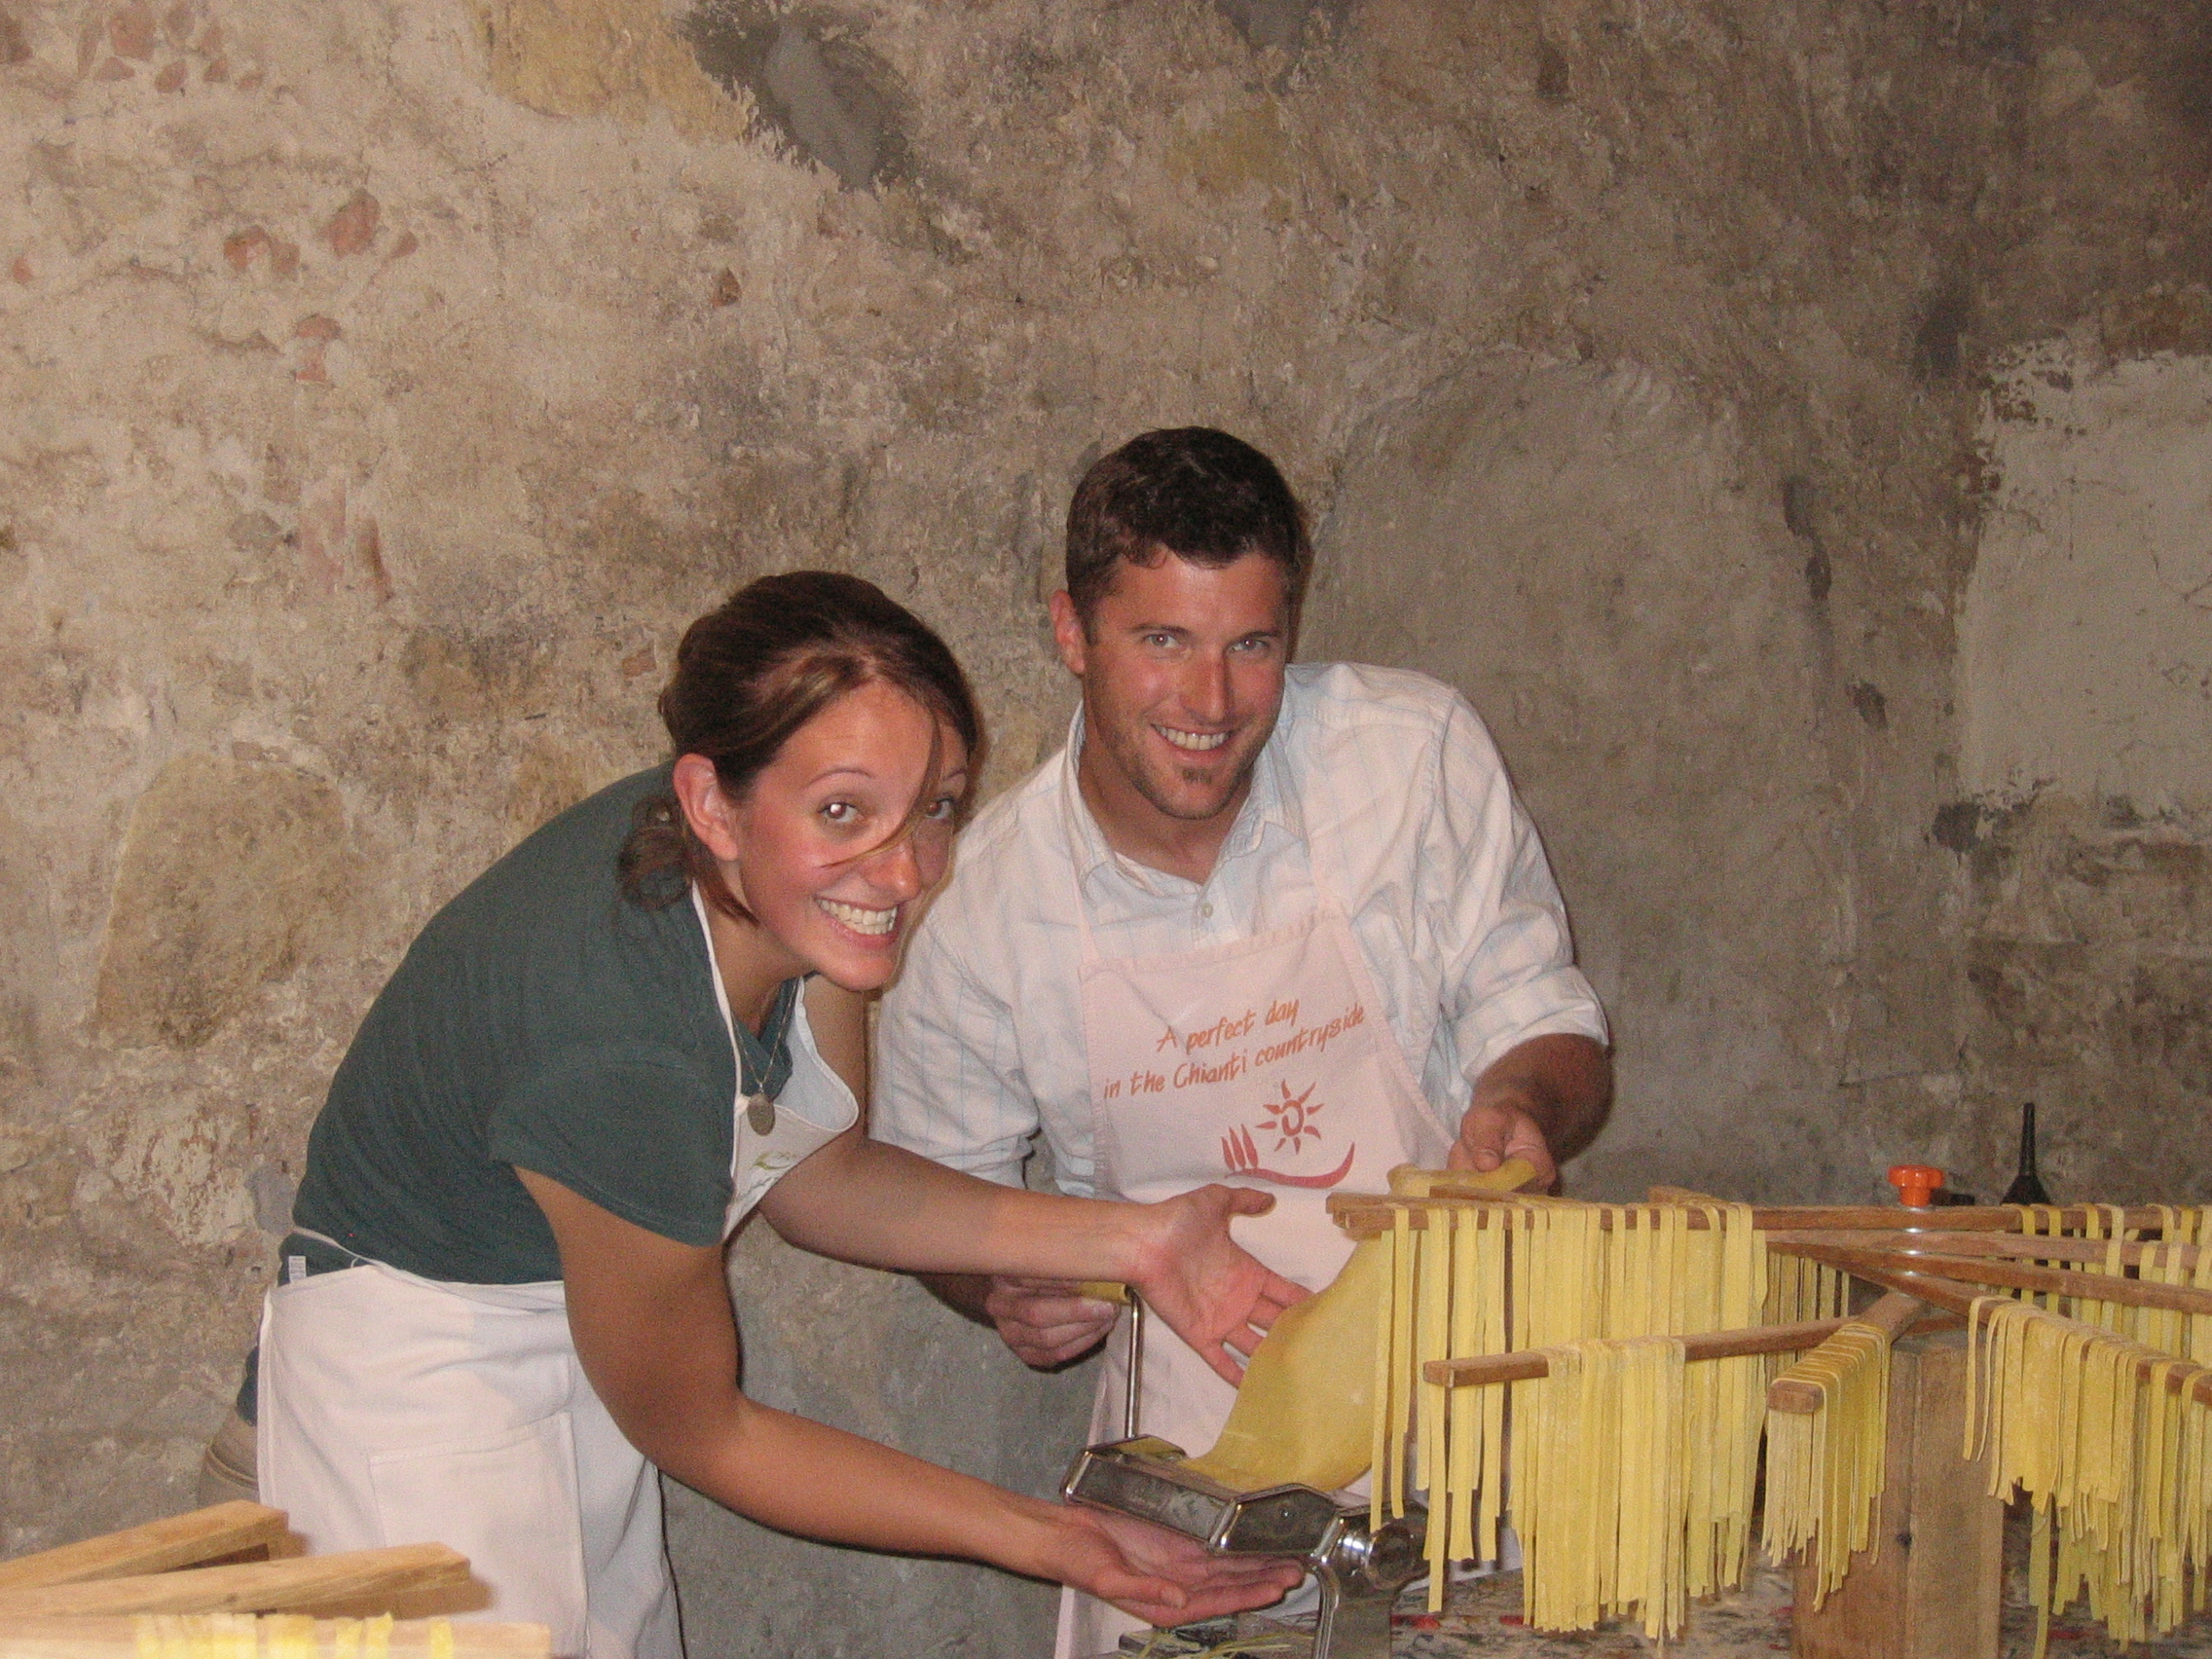
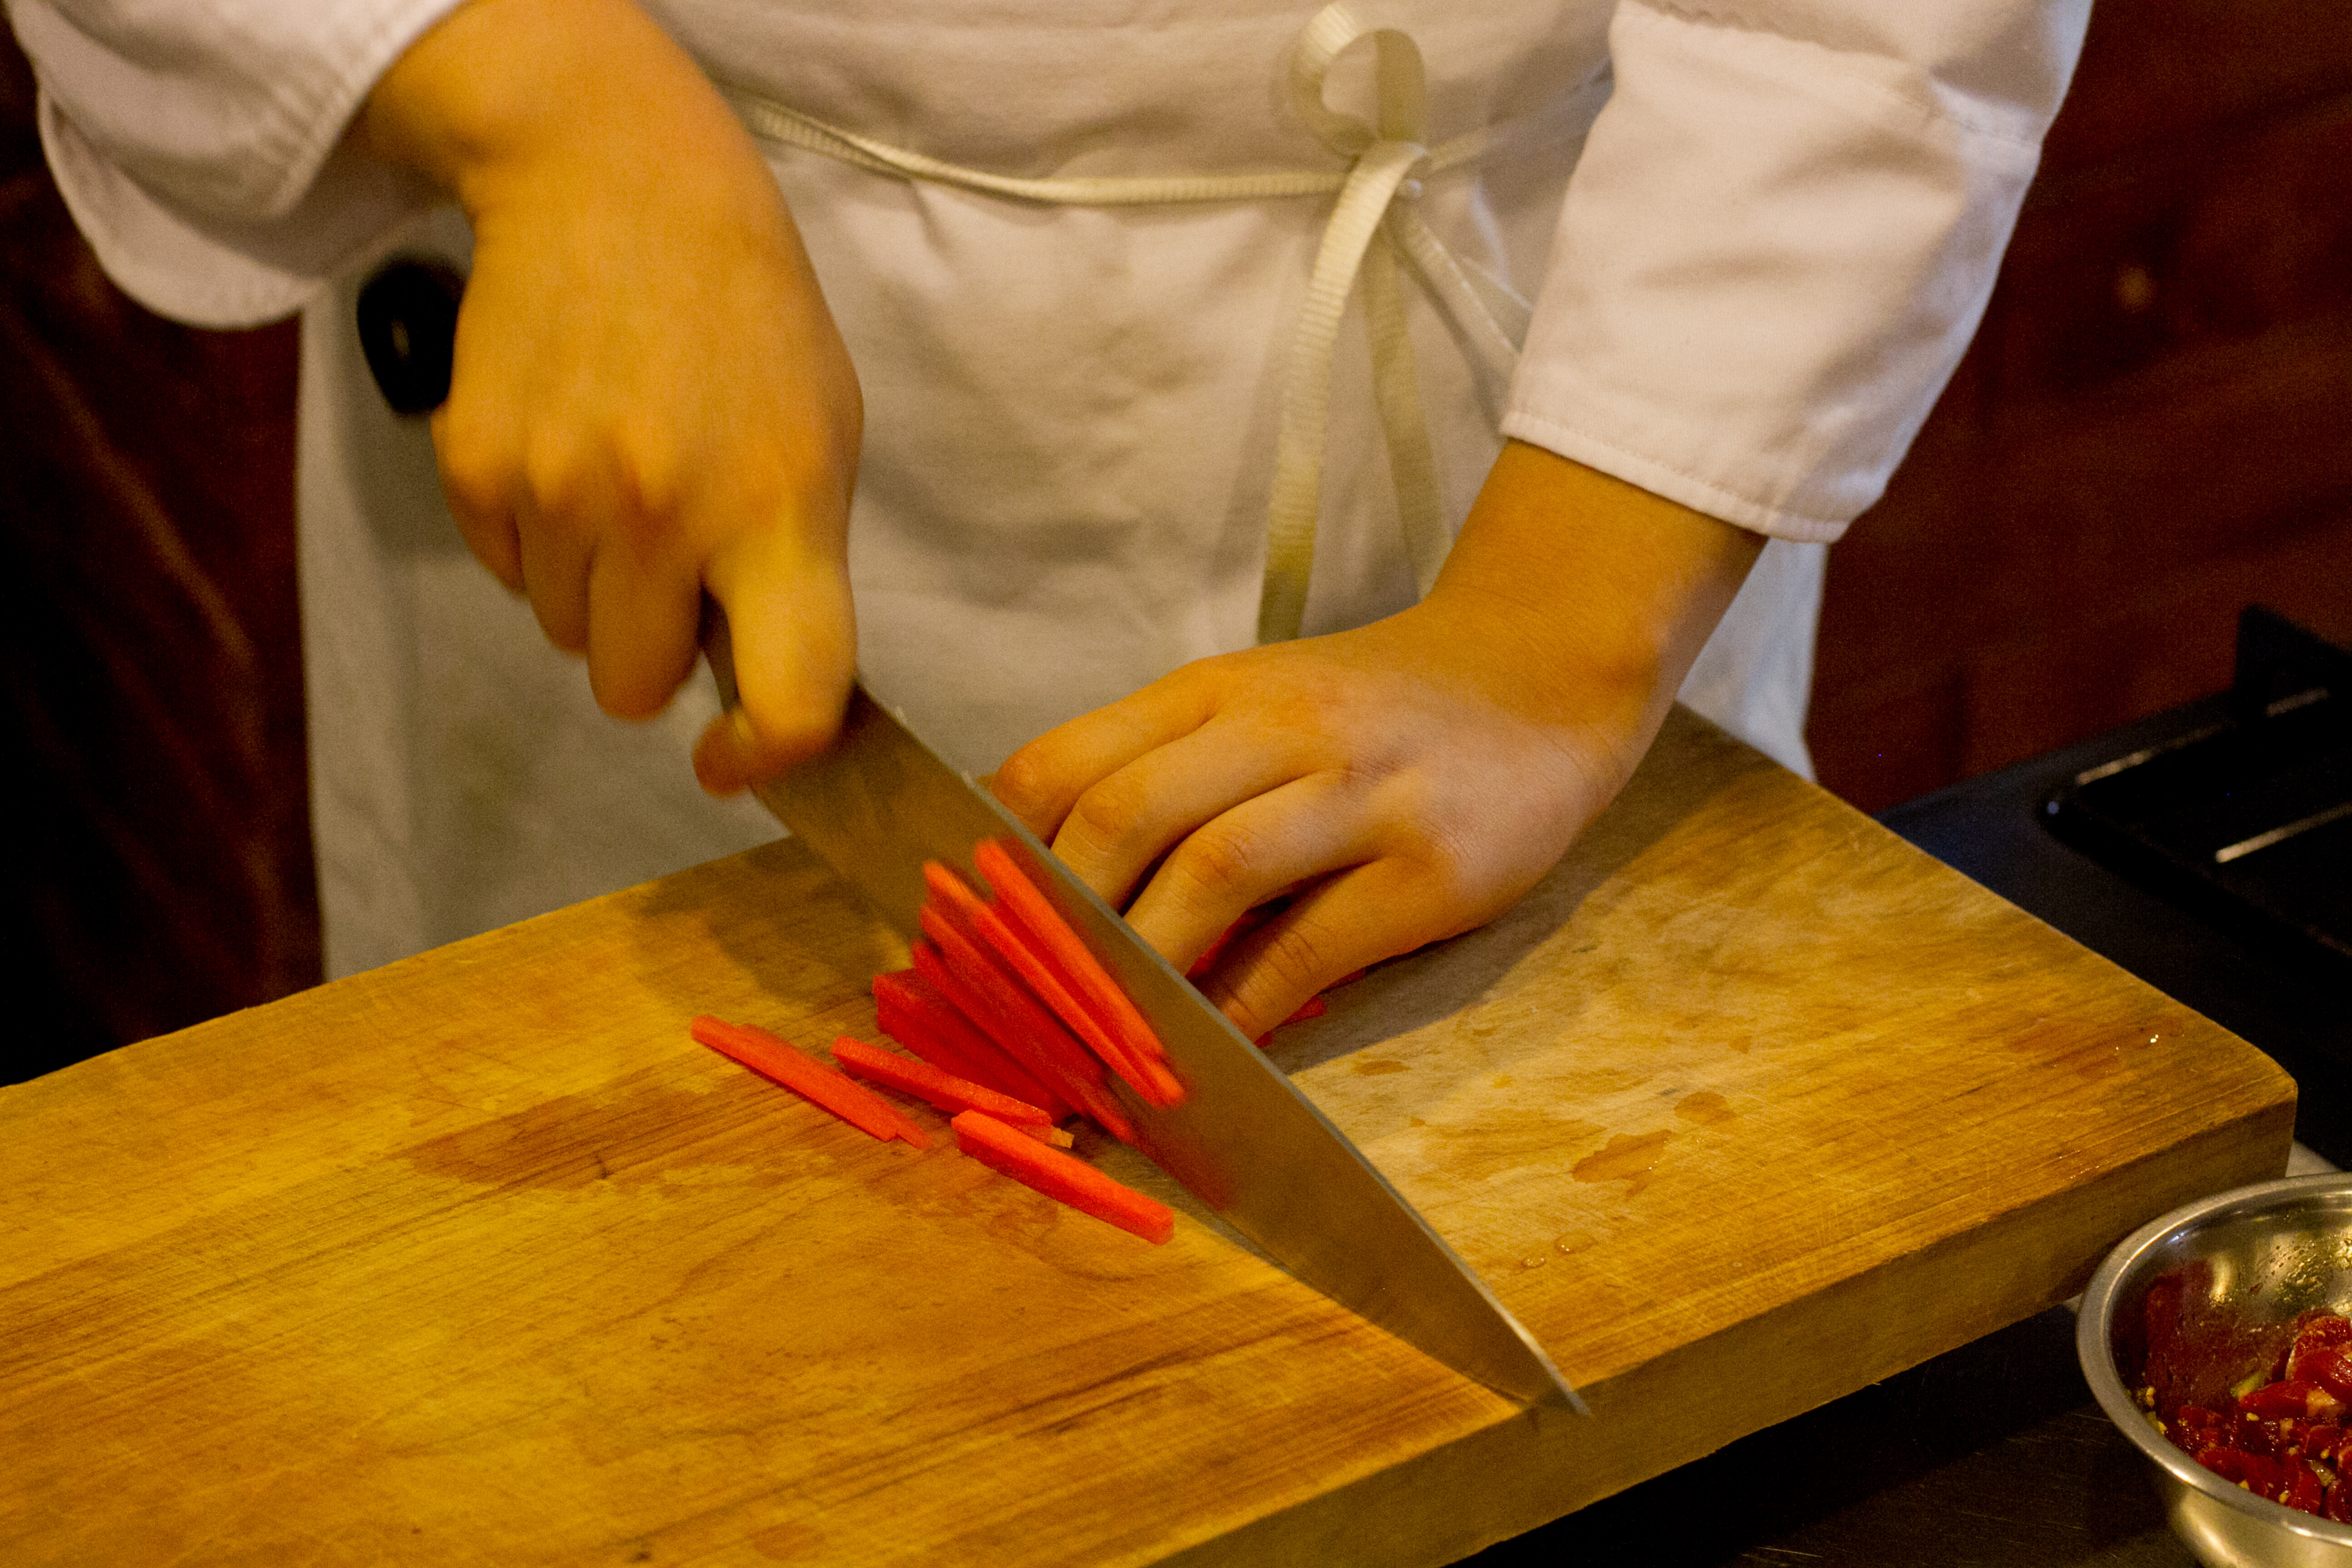
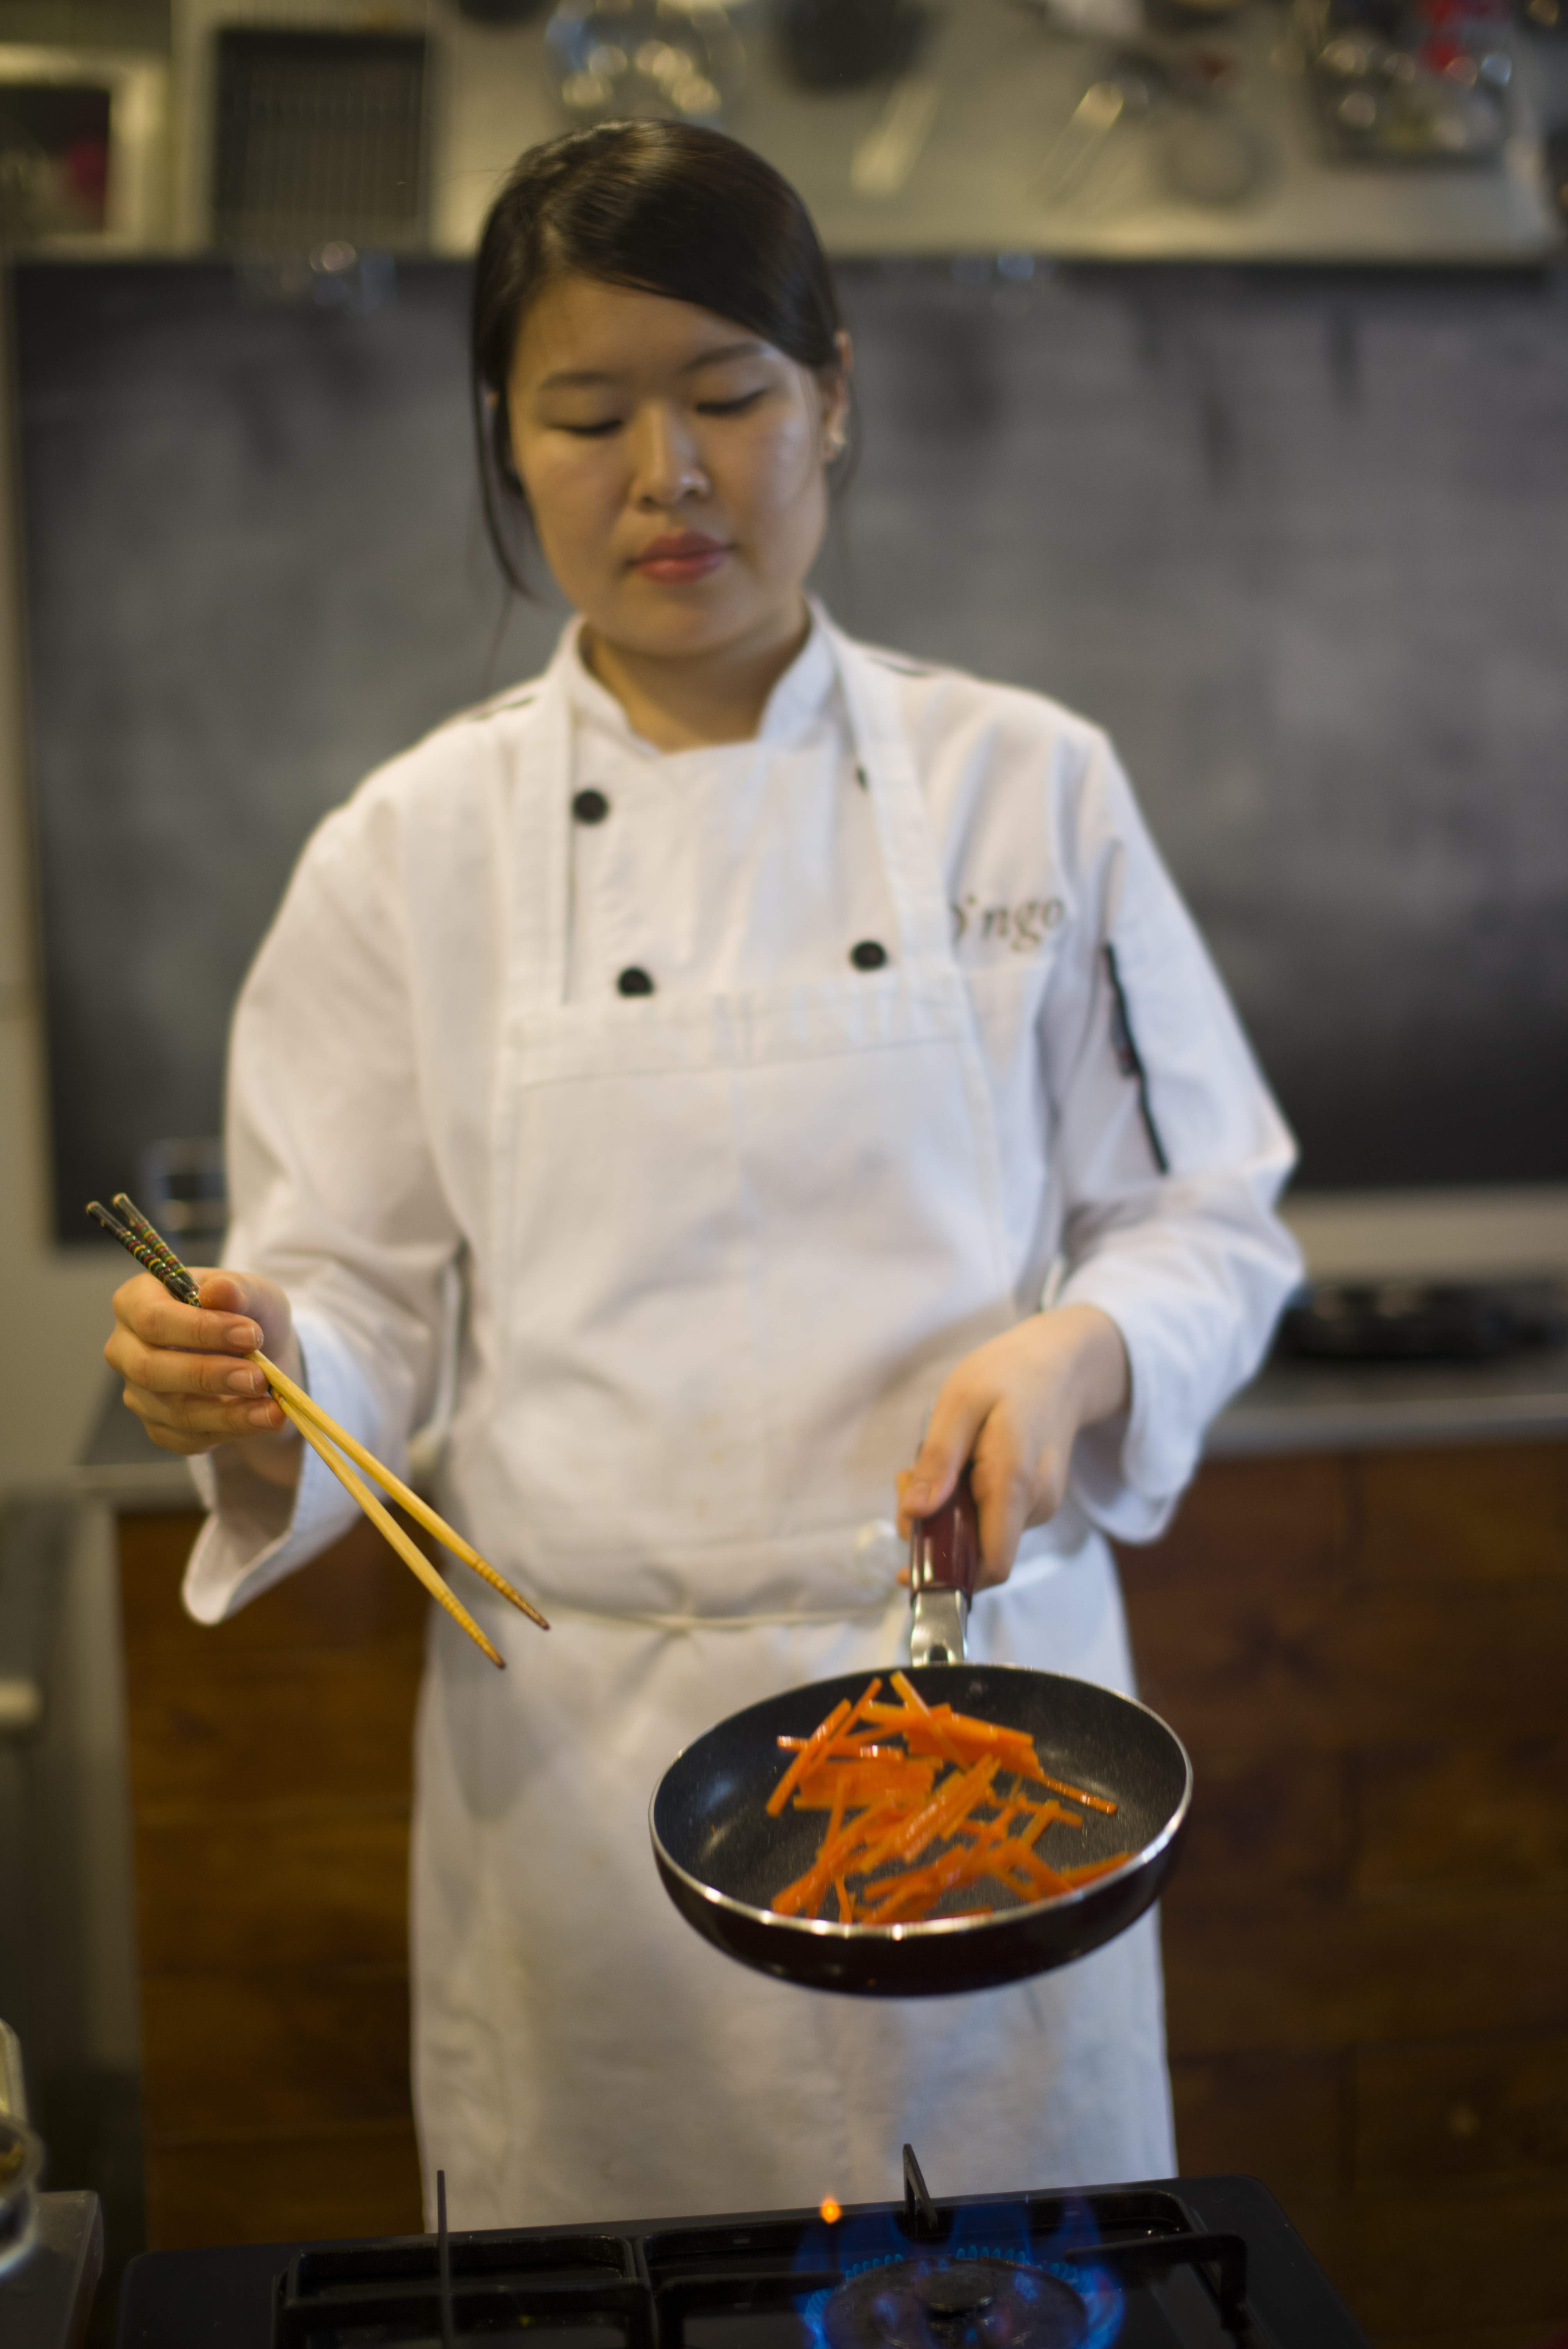
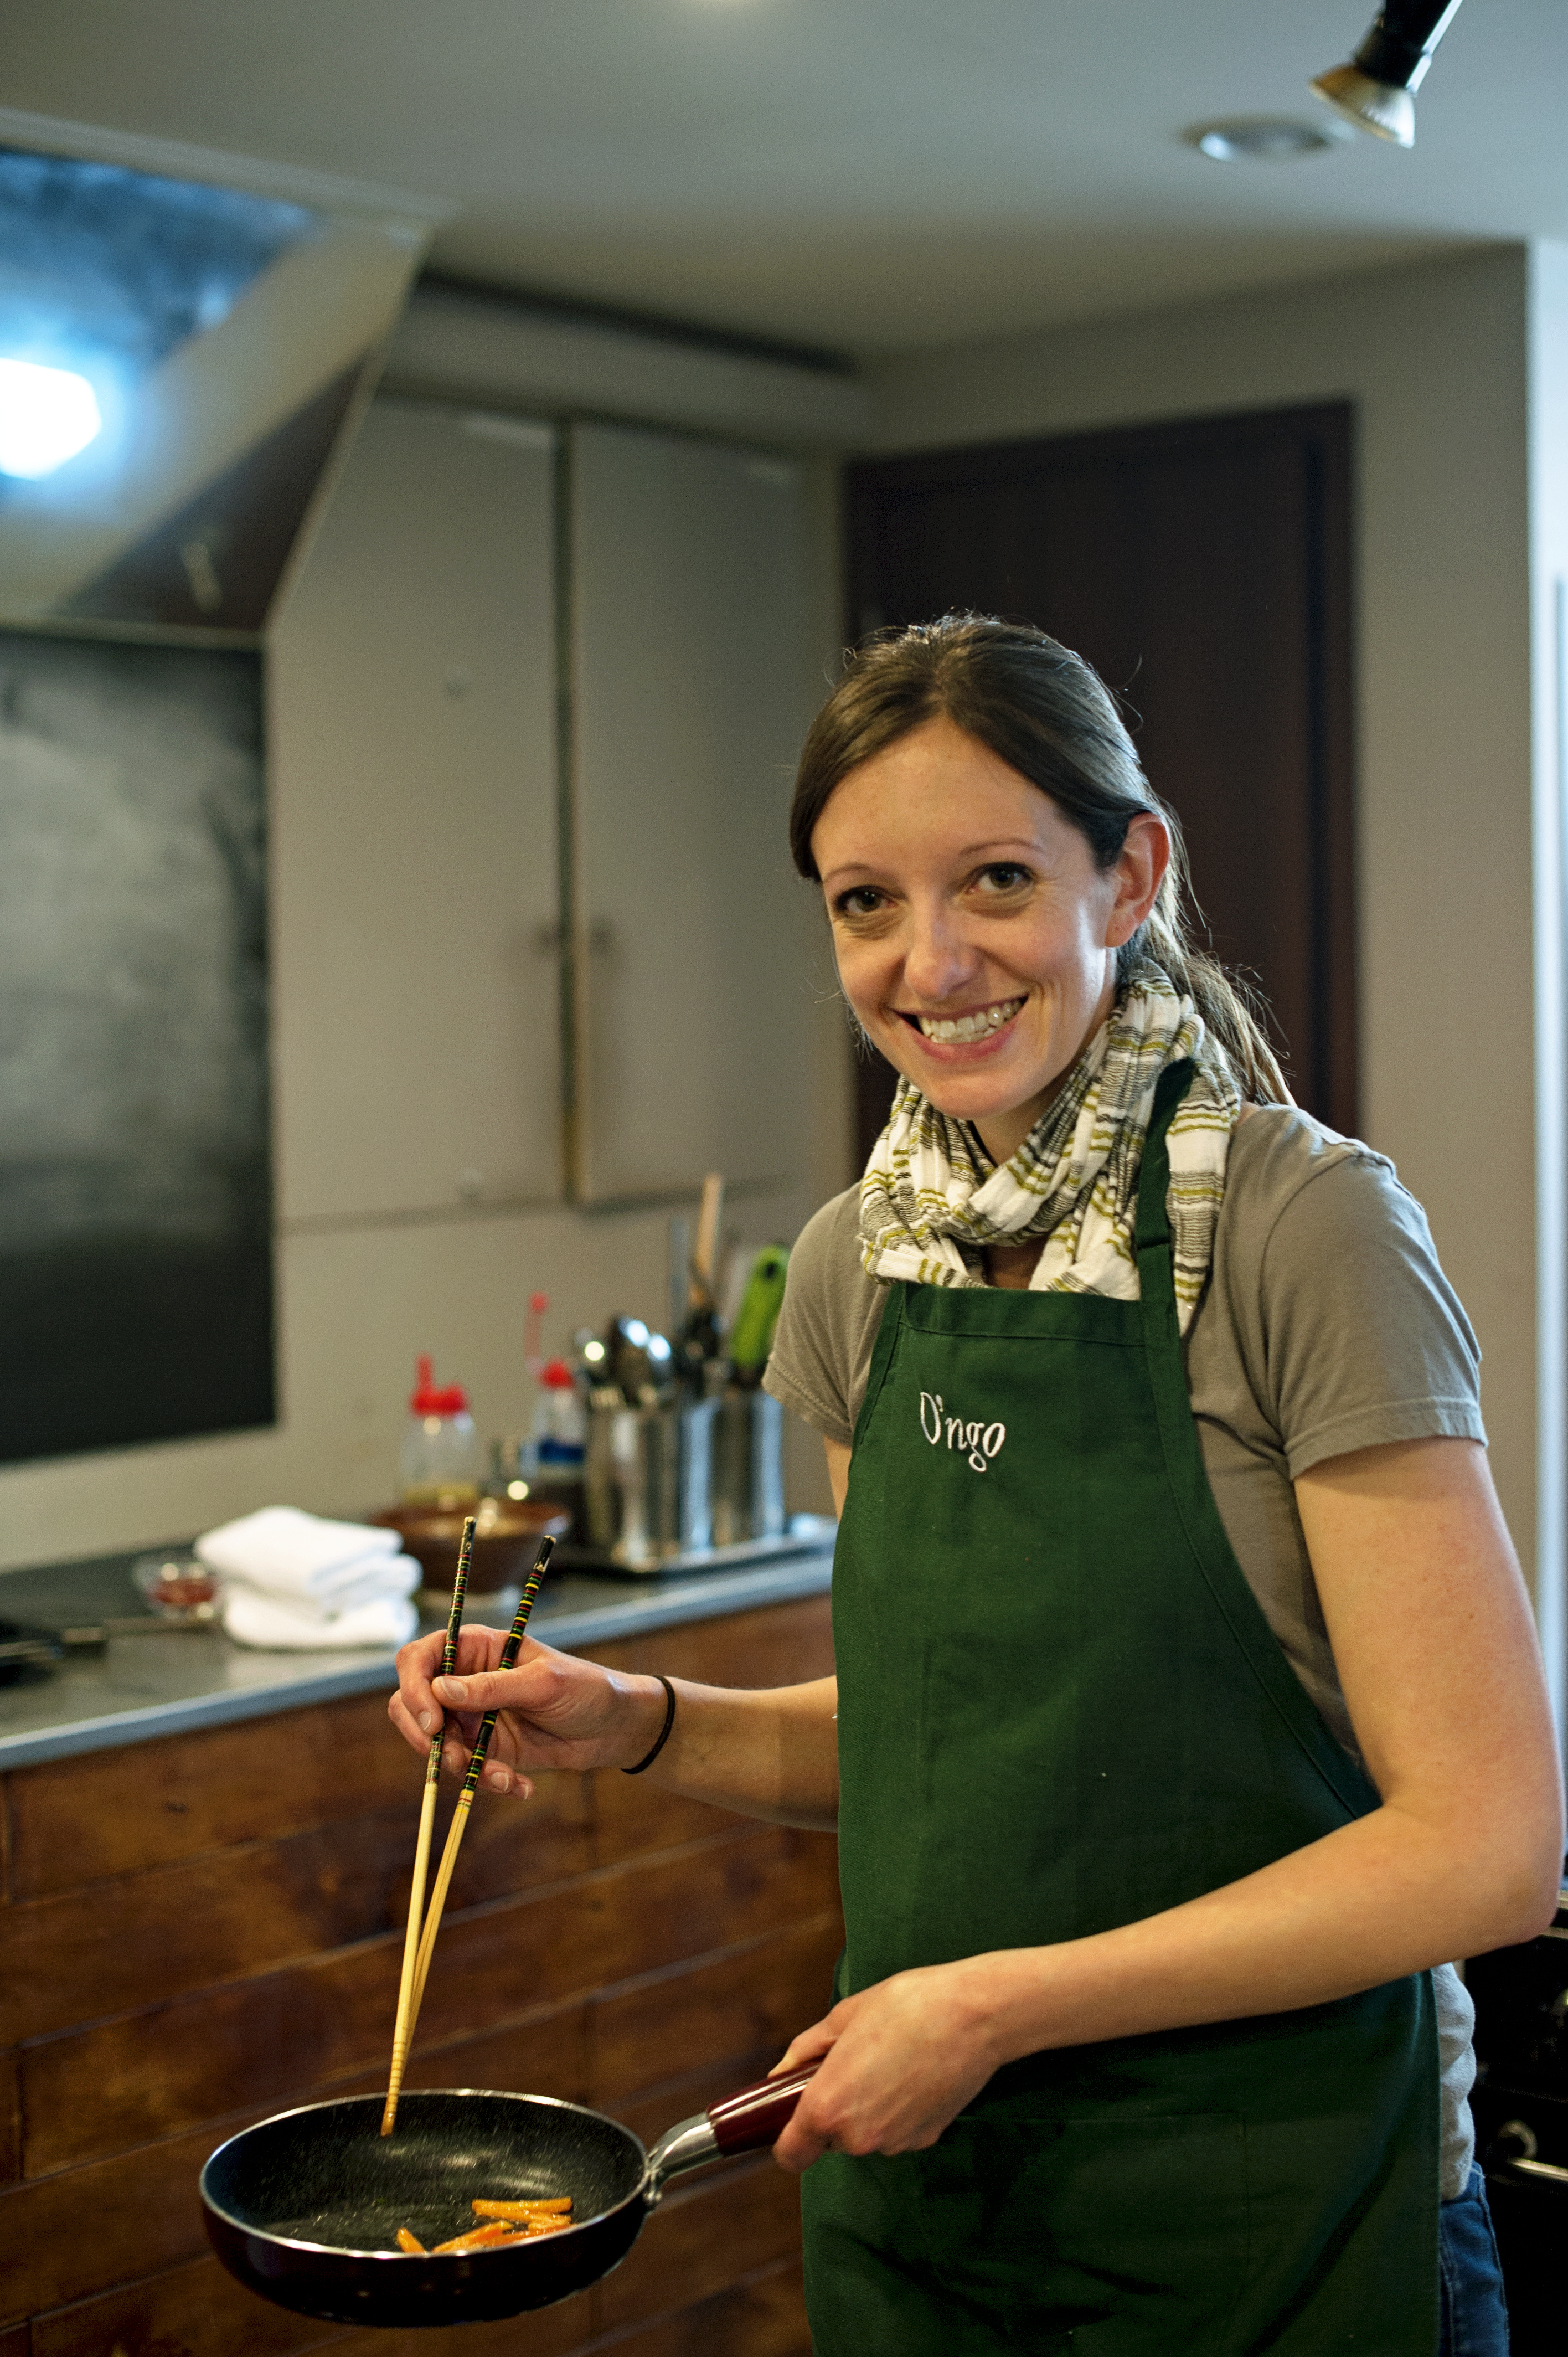
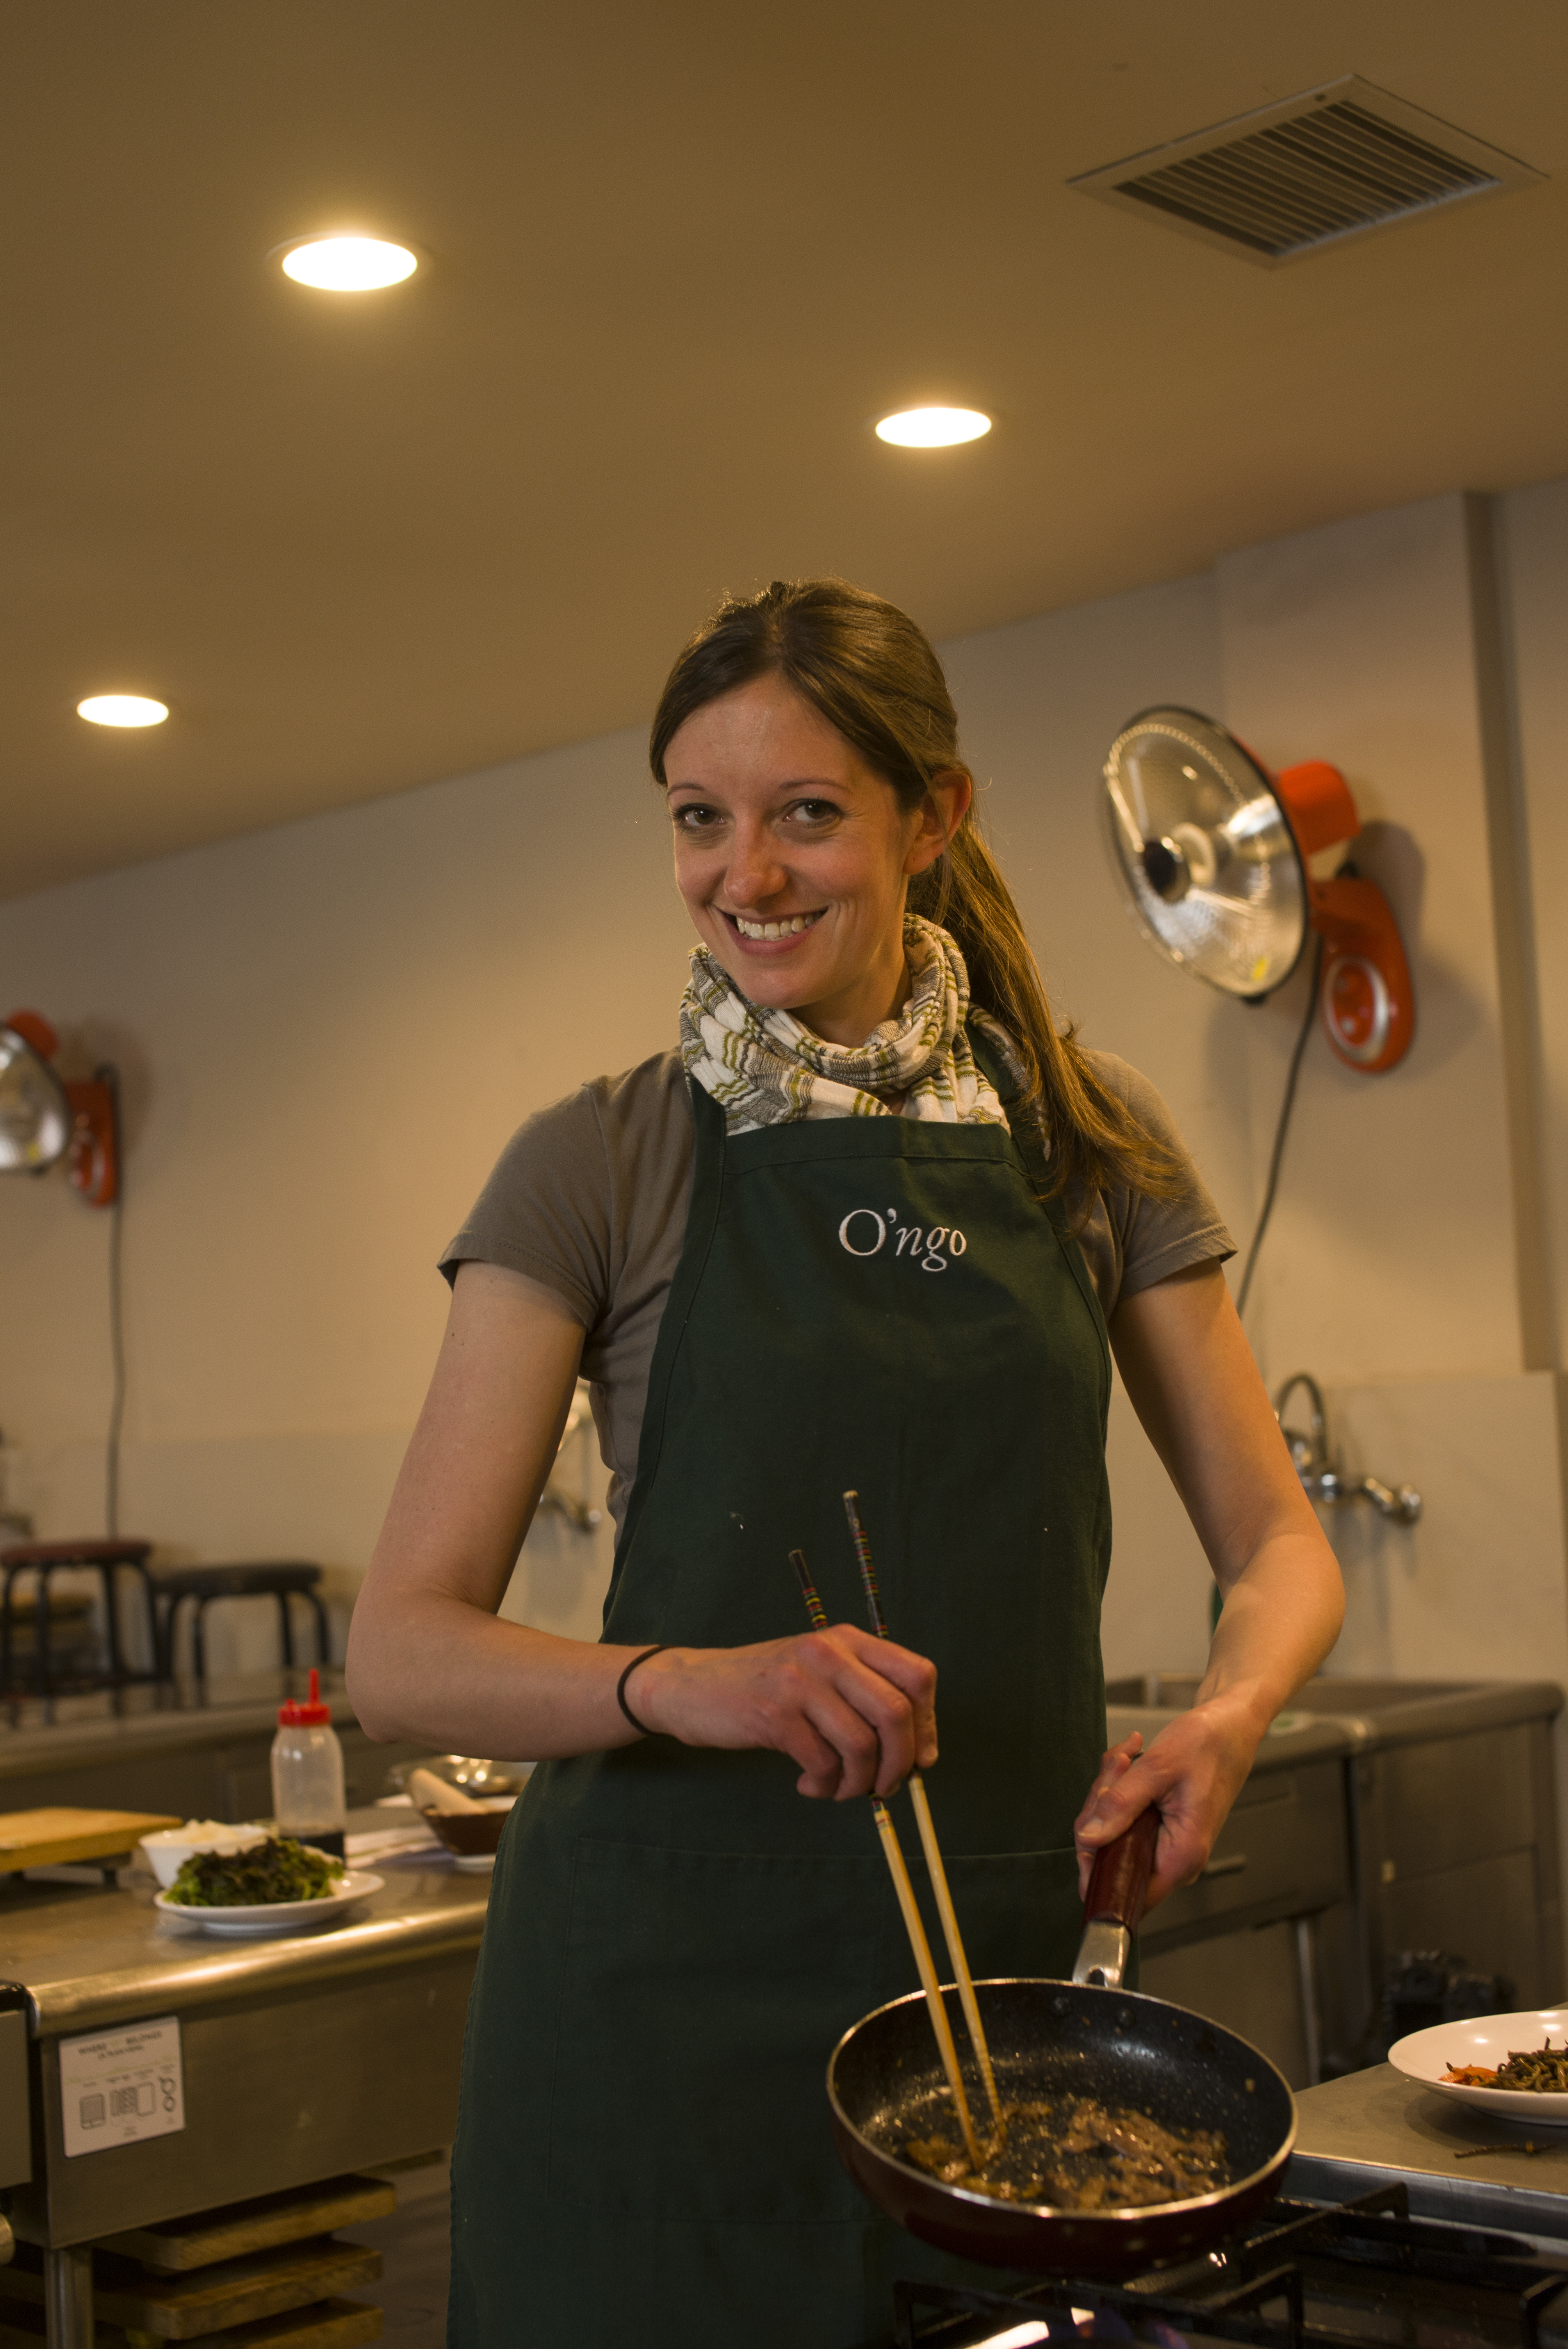
Whipping up a batch of Zion’s food

Customizable Dog Food Recipe

Ingredients

2 chicken leg quarters (or chicken breasts)
1 cup brown rice
1 pound ground beef
2/3 cup rolled oats
1 (10 ounce) package chopped frozen spinach, thawed and squeezed dry
2 cups frozen chopped broccoli, thawed
1 (15 ounce) can kidney beans – rinsed, drained and mashed
2 carrots, shredded
1 clove garlic, minced (optional)
1 cup cottage cheese
1/2 cup olive oil

Directions:
Place the chicken leg quarters in a large pot, and fill with enough water to cover by 1 inch. Bring to a boil, then reduce heat to medium-low, cover, and simmer 40 minutes. Remove the legs and allow to cool. Strain and return the cooking liquid to the pot. Once the legs have cooled. remove and discard the skin and bones; chop the meat, and set aside. Stir the brown rice into the reserved chicken broth and bring to a boil. Reduce heat to medium-low, cover, and simmer until the rice is tender, 45 to 50 minutes. Drain off any excess liquid, and add the rice to the bowl with the chicken.

Heat a large skillet over medium-high heat, and add the ground beef. Cook and stir until the beef is crumbly and no longer pink, about 7 minutes. Pour off any excess grease, and place the beef into the bowl.

Stir in the oats, spinach, broccoli, kidney beans, carrots, garlic, cottage cheese, and olive oil. Store the dog food in resealable containers in the freezer. Thaw the daily portions overnight in the refrigerator.

Note: We like to use the food processor to finely chop all items together. We freeze into containers that hold about 3-4 days worth of food. We usually double the recipe and we have enough for about 3-4 weeks.

On My Way to the Camino de Santiago

Cruising the hillside

Hiking in Andalusia. Looking forward to some more spectacular views in Spain!

It’s close!!

So close that in a few hours, I’ll be departing my house for the next several weeks. In less than a day, I’ll be relaxing Paris and eat plenty of pan au chocolat before making my way to St. Jean Pied de Port to start the Camino de Santiago.  The range of emotions that I’m experiencing right now is overwhelming; I’m on my own personal emotional roller coaster. Excited, nervous, exhilarated, overwhelmed, ecstatic, scared…

I’ve realized in the last few days that I a lot of anxiety for this trip stems from our failed Camino trip.  Exactly five years ago, we planned this trip. We got as close as prepping our bags, training and coordinating every last details. Ultimately we cancelled the trip the night before we departed. It was necessary decision. It was hard decision. It was a lesson in being a responsible adult. That was because we couldn’t, in good conscience, leave when there was so much going on at work.

It is said that you are called to the Camino. I agree wholeheartedly with this statement but I also think that you have to be ready for the lessons you will learn along the way. Part of our lesson was not being selfish and managing our obligations. I think we chose properly and in turn, we were offered another opportunity to make this dream a reality. We realize that this is not the norm and we intend to fully enjoy it. It’s a bit of a homecoming to Spain for us!

So with that my friends, I’m off. I will be disconnecting a bit. A social media detox is needed. I will be walking, meeting new friends, and socializing along the trail. Hopefully making memories that will last a lifetime! It’s not that I forgot you; I’m just doing what the Camino has asked of me.

I won’t be updating my blog much during my time away. I will however be dropping in via Facebook so please make your way to my page and “like” it to get updates of the trail, photos along the way, and more.

Buen Camino!
Courtney

Rebujitos & World Sherry Day

IMG_8126

A taste of Andalusia!

Oh, rebujitos!

It’s early May and that has me dreaming (again) of Spain. Partially because I’m heading back in a few days for vacation but mainly due to several of my (evil) friends who are posting all their feria pictures on Facebook. The brightly-colored ruffled dresses, young men on horses, dancers stomping and clapping, tapas, and general merriment with good friends.

Rebujitos are the drink of feria season. The drink was simple, requiring only manzanilla and 7-Up. It was served by the glass; or for those sharing, by the pitcher. It’s a great introduction to sherry wine. Manzanilla is slightly sweeter and you can temper its intensity with 7-Up. The taste of sherry is unique. It tastes of sunshine, the chalky yellow soil of the area, and the salty sea air that blows over the vineyards. For me, it’s Andalusia in a glass!

It also seems fitting that this year, there will be the first ever World Sherry Day  on Sunday, May 26. There are events around the world from Andalusia all the way to Japan! They vary from gatherings with friends to large events put on by restaurants and bodegas. I am sad that I won’t be able to attend an event here in Japan but believe me, I will find my way to some sherry along the Camino de Santiago to toast this wonderful wine with everyone around the world!

¡Salud!

Courtney

IMG_8128

Enjoy a rebujito this year in honor of World Sherry Day!

Rebujitos
La Gitana manzanilla
7-Up (or Sprite) soda
Ice

Fill glass with ice. Pour as much manzanilla as you want. Top off with 7-Up.

The above is the traditional form served at feria. You can dressed it up by adding an orange/lemon slice or  lemon/orange juice. I once served it in a champagne flute with a blood orange slices.


O’ngo Cooking School – Seoul, South Korea

DSC_7052a

Stone bibimbop
photo credit: L. Cordes

I’ve always loved cooking and baking. From a very early age, I was helping my mother in the kitchen or whipping up what I called “Courtney Creations.” However, it wasn’t until 2006 that I had a travel “a-ha” moment.

My husband and I were planning our one-year anniversary trip to Italy. I was researching things to do while we were there and a pasta-making class popped up. Hmm, I have always wanted to learn how to make fresh pasta….and I love Italian food…and free-flowing Chianti wine, YES please! I promptly signed us up for our first cooking class in a foreign country. Seemed like a small decision at that point in our lives but it has forever changed how I/we travel the world.

Teamwork making the pasta

Making homemade pasta during our first cooking class
Florence, Italy

The class was loads of fun! We rolled pasta, made friends with our fellow students, laughed over our “red” pasta when one person dumped wine all over the pasta, and had a leisurely late lunch with “family” because let’s be real, we felt like family at that point! There’s something about joining around a table after learning and cooking together that makes you feel connected to those around you more than any other type of tour. It was definitely one of the highlights of our trip and our pasta-making skills have now been shared with many hungry guests in our home.

Fast forward seven years and I have now taken cooking classes and food tours around the world from Spain to Japan. The latest one was on my girls weekend trip to Seoul. Our entire trip to Seoul focused on one of three things: food, photography, and more food. Ok, maybe we mixed some sightseeing into there but you get the point, we were there for Korea’s delicious food and to document this culinary adventure with our cameras.

IMG_7675

Our instructor at O’ngo showing us how to properly chop the carrots

We signed up for a custom cooking class by O’ngo Cooking School. We all love the Korean dish bibimbap which consists of white rice, marinated beef, several types of vegetables, egg and the spicy gochujang sauce.  It can be served in a metal bowl, or our preferred way, in a heated stone bowl.

The class started at 10AM on but we arrived a little late. Note to fellow travelers to Seoul, the taxi drivers do not know where they’re going and/or they cannot be inconvenienced by dropping you in front of the building. So while the taxis are cheap, we would’ve been better off taking the metro because of clear directions from the metro stop. Instead, we had a taxi driver who dropped us on a major road and pointed down a road before driving off. After 45 minutes of wandering the streets, asking for directions and retracing our steps, we finally stumbled into the cooking school 30 minutes late.

DSC_4426

O’ngo cooking school in the heart of Seoul
photo credit: T. Hong-Sandmel

We quickly washed our hands as our instructor began preparing and showing us how to recreate the stone bibimbap dish. The dish is relatively easy and can be cooked quickly in the house. It just requires chopping, marinating and then cooking the meat and several vegetables. Our instructor said that Koreans prefer around 5 different colors in the bibimbap dish (and that works beautifully for food photography as well!). After she completed her demonstration, it was our turn to whip out the dish. We had fun chopping, cooking and taking pictures along the way.

IMG_7756

Mixed greens salad with a mustard-sesame dressing

While our stone bibimbaps were sizzling on the stovetop, we prepared a simple mixed green salad. I had never thought of a mustard-sesame dressing but it was divine. The dressing was easy to whip up with mustard, soy sauce, rice vinegar, sugar, sesame oil (Korean sesame oil is fabulous – seek it out!) and sesame seeds. The surprise ingredient to the salad greens was sesame leaves which Koreans think are a good mix with meals that serve meat.

Once everything was cooked, we were able to sit down and enjoy our lunch together. We took plenty of pictures prior to eating but once we did, the room became quiet. The type of silence that comes from enjoying your hard work learning a traditional dish of the culture you’re visiting.

DSC_4424

Lunch is served!
photo credit: T. Hong-Sandmel

It was a great experience and we thoroughly enjoyed our time at O’ngo Cooking School. The company offers cooking classes as well as food tours around the city in English. We were unable to do on any of those tours but I hope to next time I visit Seoul.

I’ve included a mixture of photos from the cooking class. My friends allowed me to share their photos as well. It’s nice having friends who are such talented photographers!

DSC_7020a

Our ingredients for bibimbap
photo credit: L. Cordes

DSC_4354

Our instructor showing us how to make bibimbap
photo credit: T. Hong-Sandmel

DSC_7043a

Now it’s my turn to cook!
photo credit: L. Cordes

IMG_7717

My fellow foodie photogs preparing their bibimbaps

DSC_7053a

Stone bibimbaps cooking on the stove
photo credit: L. Cordes

DSC_4402

My best impersonation of Julia Child
photo credit: T. Hong-Sandmel

A Day of Firsts

DSC_0258

Performing tea ceremony
Photo credit: NAF ATSUGI MWR

It was a day of firsts….

My first time performing tea ceremony.

My first time wearing a kimono.

My first time being asked for an autograph.

My first time having insanely large camera lenses in my face!

The morning of the performance I was a nervous wreck. Would I mess up? Would I be able to walk in zori shoes? Would I remember the Japanese phrases, or mash them all together like I’d been doing throughout the week? Deep breath in, exhale…

An experienced fellow tea student told us that many Japanese don’t fully know the intricacies of tea ceremony.  So while we aim for perfection, slight mess-ups probably would go unnoticed. Whew!

Throw in the wind that kept toppling our chasaku (tea scoop), the addition of a stand to hold up the chasen (tea whisk) and all those other “X” factors, we learned to just give into the moment and enjoy the experience.

In the end, we were thanked by many for serving them tea, learning an ancient Japanese art, explaining tea ceremony procedure to them, and allowing them to photograph us.

It was a beautiful day and I can’t wait for my next performance.

xxCourtney

DSC_0262

Pouring in the hot water.
Photo credit: NAF ATSUGI MWR

911436_4960998737675_1972151036_n

Cleaning the chasen, or tea whisk
Photo was given to me by Japanese participant

945212_4970256809121_1607694264_n

Caught enjoying the performance!
Photo was given to me by Japanese participant

Thoughts on Kyoto

IMG_6960

Cherry Blossoms in Kyoto

A few weeks ago, my in-laws came to visit. It was great to catch up with family and share in some common memories and adventures. Living overseas for the past eight years has made it difficult to maintain close relationships with family so we’re always thankful when we get the opportunity.

Since this was their first trip to Japan, we wanted it to be memorable. My husband and I felt they needed to see Kyoto, the quintessential old world Japan. Not to mention it was a good excuse for us to head back! I was happy to discover that the famous the cherry blossom dance Miyako Odori would be happening while we were there, but little did we know our timing would also be perfect for the cherry blossoms. Mother Nature must have been on our side in creating a magical visit. The cherry blossoms arrived 2-3 weeks early and we happened to be in Kyoto when they reached full bloom (80% bloom).

Below are some photos during this beautiful time. So happy that spring is on the way!!

xxCourtney

IMG_7016

An afternoon stroll down the Philosopher’s Path

IMG_7069

Famous Golden Pavilion

IMG_7238

Hanami (cherry blossom viewing party) in Kyoto

IMG_7244

Weeping cherry tree in Maruyama Park

IMG_7287

Fushimi Inari shrine

IMG_7368

Another cherry blossom variety


Favorite Places: Vejer de la Frontera (Spain)

Heading into the juderia, the Jewish area - Vejer

It was cold and rainy in Japan when I started this post.  It was only natural that my thoughts turned towards sun, warmth, and enjoying good food on an outside patio. For me, the stunning village of Vejer de la Frontera is all of that!

This pueblo blanco (“white village” in Spanish) isn’t on the normal tourist circuit for Andalucia. Total shame but I’ll keep it for my own secret getaway! It’s dramatically perched about 200m above the rolling countryside. On clear days, you can see all the way to the Atlantic Ocean and sometimes Morocco. The town has a strong Moorish history that I found fascinating. There’s even a statue in the old city showing the traditional covering women wore, which looked similar to a nun’s habit, until only a century ago.  While many cities in Andalucia tried to cleanse themselves of their Moorish past, Vejer de la Frontera seemed to embrace it and has flourished because of it.

IMG_0858

Traditional clothing for the women of Vejer until about a century ago.

I would routinely head down to Vejer to escape for the day quickly making it one of my happy places. Typically, I would just wander the streets. Get lost and find my way back. Along the way, I would find new places. These places would include an old Jewish district, cathedral, the beautiful Plaza de España with its spouting frog fountain, tiny hole-in-the-wall shops, and more.

For those who like to have a starting point, I’ve included some of the places that I would regularly visit. Basically these places were my excuse to go to Vejer (as if I really needed one!). Whether you choose one, or all, it will be a memorable trip.

After cooking the fish in salt, Annie B prepares for serving.

Annie B’s Spanish Kitchen
Scottish expat Anne runs a cooking school out of the kitchen of her beautiful Casa Alegre. The courses are varied as the tapas you can find in Vejer! You usually start at a local gourmet store (or market) before heading back to her house to wash up and begin cooking. I participated in private classes as well as special theme classes such as Moroccan pastries. After all the cooking is complete, you move to the patio to enjoy the fruits of your labor with some fine sherry wine.

Website: http://www.anniebspain.com/

IMG_2494

Delicious pastela at El Jardin restaurant in Hotel La Casa del Califa.

El Jardin Resturant

Leave the bustle of the main plaza and find yourself in a tranquil setting of a lush patio or a cozy stone cistern. The North African and Middle Eastern food is high-quality and delicious. Start off with the mezze platter to enjoy a sampling of falafel, hummus and baba ghanoush. For the main dish, sample the house-specialty pastela, a sweet-savory mix of chicken and spices wrapped in warka pastry and served with an almond sauce. Your taste buds won’t know what hit them! For vegetarians, try the chargrilled vegetables and manouri cheese. Save room for dessert or grab a few Moroccan pastries to take home with you.
Website: http://jardin.lacasadelcalifa.com/
Note: The restaurant is located within the Hotel La Casa del Califa. It’s a gorgeous boutique hotel. Each room has its own personality and feel while providing you with all the modern comforts. We lived too close to justify staying there but did splurge a few times for special occasions!

IMG_0763

Pottery artwork at NMAC – Vejer de la Frontera.

NMAC
Located a short drive from Vejer towards Tarifa is an outdoor art museum called NMAC. It took me awhile to finally make my way there but once I did, I didn’t want to leave. Most of the pieces are permanent and scattered around the museum grounds which situated on a hill overlooking the surrounding countryside. They also have rotating exhibits as well, which are varied but leaned towards whimsical. One visit included a photo series of dogs standing on their hind legs posed throughout local white villages. It was just too cute!
Website: http://www.fundacionnmac.org/english/home.php

And with that, my thoughts turn south to Tarifa….be on the lookout for my next Favorite Place.

xxCourtney

Becoming Graceful

IMG_6887

Japanese matcha with strawberry daifuku

This past January, I was given the opportunity to learn chado, or the Japanese way of tea.  I was excited to delve deeper into Japanese culture through this disciplined and intricate process. Little did I know how much I was biting off…

Chado is complex. Very complex!  There are over 16 different procedures. The major factor in determining the procedure is the season, winter or summer. This changes the layout of the room, what equipment is used and if you need to open/close the shoji screens. From there, it varies based on any number of reasons. If thick or thin matcha tea is being served. Whether there’s a table or not. What type of pot/kettle is used for the ceremony. And the list goes on and on.

Outside memorizing the actual procedures, the hardest aspect for me to grasp is being fluid and elegant in my hand movements. I think it’s safe to say that “graceful” is rarely a term used to describe me. I definitely could have benefited from some ballet classes in my younger years! But over the past few months, I have started to become slightly graceful. I no longer have “the claw” hand while its resting on my lap and I’m able to flick the “sexy wrist” elegantly as I’m cleaning the chawan, or tea bowl.

It’s only been 3 months of chado practice at this point. I’m a poor tea host as I can only serve thin matcha tea. But with time, I will expand and begin to learn more complex procedures. I just need to master the table procedure for thin tea that I will be performing (*gasp*) in front of Japanese nationals who will attend the open base event this late April.

It’s been challenging, overwhelming and incredibly complex (the thought of 16 procedures is still boggling my mind!) yet it has become my happy place.  I look forward to meeting each Wednesday morning to focus on being in the moment, sampling new Japanese sweets and achieving perfect foam on the tea.

Crostata alla Nutella (Italian Nutella Tart)

IMG_6873

My friends and family know I have a slight major Nutella obsession!

It started young when our Italian neighbors in Dublin, Ohio let me enjoy my first taste of this chocolatey hazelnut goodness.  It quickly became one of my favorite treats. Years have passed since that day and I still love Nutella. I put it on anything and everything. I host an annual event in celebration of Nutella Day. Even the year I joined the Public Relations Bateman Competition in college, the product happened to be Nutella. It was obviously a product I could get behind!

Yummy nutella treat

Enjoying crostata alla Nutella in Italy (2006)

I always knew the French loved their Nutella on toast and in pastries. They do it well so I thought there was little competition. But when I first visited Italy, I realized that Nutella’s homeland took it to a whole other level. During our 2-week journey, we spent 3 nights in Alba, Italy. Yes, the home of the Nutella factory. The factory is very secretive so no tour (sad face) but walking the streets to the smell of chocolate-hazelnut was divine.

During this trip, my husband and I were museum-bashing Florence and needed a recharge so we ducked into a small café for a macchiato and treat. Little did I know I would come face-to-face with a dessert that I still dream about, the crostata alla nutella. A sweet shortbread-like dough with a thick Nutella layer. Utterly sinful and delicious! Served with a thick, strong macchiato and it’s a match made in heaven.

In an attempt to recreate this delicious food memory, I have scoured the internet translating Italian recipes, comparing Italian-American recipes and taste testing several versions (yes, it’s a hard job!). This recipe is a mix of all the research and the closest I’ve come to the “real thing”.

Crostata alla Nutella

1 cup (2 sticks) butter, cold and cut into cubes

2 cups all-purpose flour

1 ½ cups powdered (icing) sugar

4 egg yolks

¼ tsp vanilla extract

1 large jar (750 g) Nutella

Powdered (icing) sugar, for decoration

Directions:

Preheat the oven to 350 degrees (180 Celsius). Butter and flour tart pan.

In a mixing bowl, combine cold butter cut into cubes with a little over 2 cups of all-purpose flour until it resembles sand. You can use pastry blender or your hand.

Dump the butter and flour mixture onto a large working surface and make it into a mound. Add a little over 1 ½ cups of powdered sugar on top and make a well in the middle.

Into the well, add four egg yolks and a dash of vanilla. Slowly begin to incorporate the egg yolks and vanilla into the sugar, butter and flour mixture. This process will take awhile so be patient. Continue mixing and kneading until the mixture resembles firm cookie dough.  Wrap in plastic wrap and place in the fridge for two hours.

Flour your working surface and roll the dough into a circle large enough for your tart. You will want the dough to be thicker, approximately ¼- ½ inch thick.  Use extra dough to create decorative strips for the top.

After the dough is in the pan, use a fork to poke several small holes so it doesn’t bubble while baking. Take the jar of Nutella and dump the whole thing into the tart pan.  Note: I have used less and it’s fine. I actually prefer a higher pasta frolla-to-Nutella ratio.

Place tart in the oven for approximately 40-45 minutes. The pasta frolla seems to brown too quickly so I usually lightly cover with foil for the first 30 minutes. Remove and let the dough get golden brown and the Nutella will turn a dark brown.

Cool. Sprinkle with powdered sugar prior to serving.

Note: Nutella can be swapped for marmalade. I used homemade mikan orange marmalade one time and everyone really enjoyed it.

IMG_2407

Message in Youth Hostel in Florence. I totally agree!!

When life gives you bad beer, make cupcakes!

IMG_6822

My hubby loves beer. Let me clarify, my hubby loves GOOD beer. The word good being the key and he’s very particular about it. Good equals flavorful, hoppy, non-fruity, microbrews, specialty beers, and the list goes on and on. You can imagine his delight when the base’s mini-mart received a shipment of American microbrews. He snatched up a few sampler cases to enjoy.

Overall, he was happy with the new brews and was enjoying them until the Kona Brewing Company’s sample pack. It included a Koko Brown Ale which was described as having a toasted coconut flavor. He thought he’d give it a try but immediately put it down. Too tropical for beer! He pondered keep them or just empty them.  I suggested making cupcakes with the beer.

I’ve played around with chocolate stout cupcakes before (think home-brewed chocolate-hazelnut stout with Nutella & cream cheese swirl icing) so I figured the recipe could be worked to enhance the coconut flavor. I did some adjustments and they turned out great. Hope you enjoy as well!

Chocolate Coconut Ale Cupcakes

Adapted from My Baking Addiction’s recipe (see notes below for link)

3/4 cups Koko Brown Ale (or similar flavored beer)

1/4 cup coffee

1 cup unsalted butter

3/4 unsweetened cocoa powder

2 cups all purpose flour

2 cups sugar

½ TBSP baking soda

¾ tsp salt

2 large eggs

½ TBSP coconut extract

2/3 cups sour cream

Cake Directions:

1. Preheat oven to 350°F.  Prepare muffin tins with cupcake liners.

2. In saucepan, bring stout, coffee and butter to a simmer over medium heat. Add cocoa powder and whisk until mixture is smooth. Cool slightly.

3. Whisk flour, sugar, baking soda, and salt in large bowl to blend. In large bowl, use an electric mixer to beat eggs, coconut extract and sour cream in another large bowl to blend.

4. Add stout-chocolate mixture to the egg mixture and beat until just combined, taking care the stout mixture is cool enough that it will not cook the eggs. Add flour mixture and beat on low speed until just combined. Divide batter equally among cupcake. Bake cupcakes for approximately 20-25 minutes, or until toothpick comes out clean. Remove cupcakes from tin and cool completely.

Coconut Buttercream Icing

1 cup (2 sticks) butter, at room temperature

3 -4 cups powdered/icing sugar

1 tsp coconut extract

Heavy cream or milk, as needed

Coconut Buttercream Directions:

Beat butter until softened and fluffy. Add one cup of powdered sugar at a time until incorporated. If using a stand mixer, use a low speed to ensure that it doesn’t spray everywhere. After adding the third cup of powdered sugar, add the coconut extract and blend until smooth. Adjust consistency by adding more powdered sugar or heavy cream. Note: You can use coconut milk in place of heavy cream/milk to intensify the coconut flavor (for those coconut addicts out there!).

Toast sweetened coconut flakes over medium-high heat until they are fragrant and have a light brown coloring. Stirring frequently to keep from burning.  Cool to room temperature.

To assemble, ice cupcake and then roll in toasted coconut flakes. Enjoy immediately. The cupcakes are best the day they are made but will last 1-2 days in the fridge.

Makes approximately 24 cupcakes.

Note: Recipe inspiration from My Baking Addiction’s Chocolate Stout Cake. Recipe at: http://www.mybakingaddiction.com/chocolate-stout-cake/